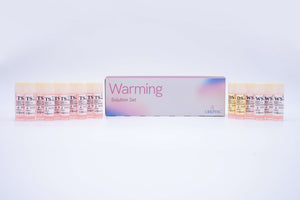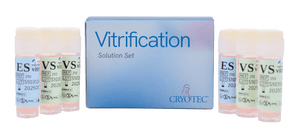
Cryotec Warming Solution Set (by Reprolife America)
You might also like:
Warming Solution Set for Human Oocyte and Embryo Cryopreservation
Cryotec warming media is on backorder until at least April 2026. Please consider this excellent warming media in the meantime - https://us.ivfstore.com/products/vitavitro-vitrification-warming-kit
Cryotec Warming Solution Set, developed by Dr. Masashige Kuwayama, the pioneer of vitrification technology, offers a superior protocol for the safe and effective warming of human oocytes and embryos after vitrification. Designed with cutting-edge technology and backed by over 15 years of experience, Cryotec warming media ensures optimal recovery rates, providing security and reliability in reproductive procedures worldwide.
Why Choose Cryotec Warming Solution Set?
• Developed by Dr. Masashige Kuwayama: Created by the expert who pioneered vitrification media, this solution set is based on extensive research and practical success.
• Proven Effectiveness: Reprolife America’s warming media is part of a globally trusted protocol for high survival rates in oocyte and embryo cryopreservation.
• FDA 510(k) Cleared: Certified for use in clinical settings, ensuring safety and efficacy.
• Advanced Technology: Our warming protocol is based on the latest scientific advancements, offering effectiveness and security to every user.
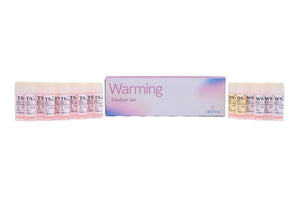
Cryotec Warming Solution Kit Components :
5 Applications
- 1.8 ml Thawing Solution (TS) x5
- 1.8 ml Diluent Solution (DS) x 1
- 1.8 ml Washing Solution (TS) x2
Cryotec Warming Solution Kit Components :
10 Applications
- 1.8 ml Thawing Solution (TS) x10
- 1.8 ml Diluent Solution (DS) x 2
- 1.8 ml Washing Solution (TS) x4
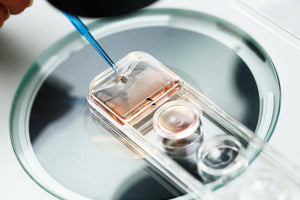
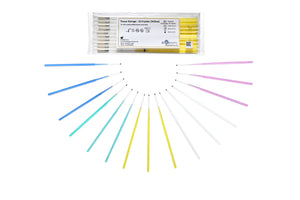
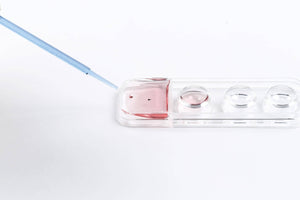
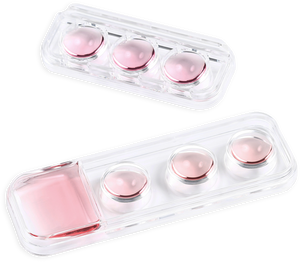
Additional tools required: Microscope, Stopwatch (count-up function), Tweezers, Micropipette (300μℓ), Warming Plate with 4 wells
SHIPPING: Overnight Shipping Required to keep media at temperature - 2-8 degrees celsius.
Optimize your vitrification procedures with Cryotec cutting-edge media, ensuring high survival rates and developmental potential for human oocytes and embryos during cryopreservation.

